In this post we will show you how you can put password to a folder in Windows, no programs or anything. All your content safe. ENTERS!
WE START:
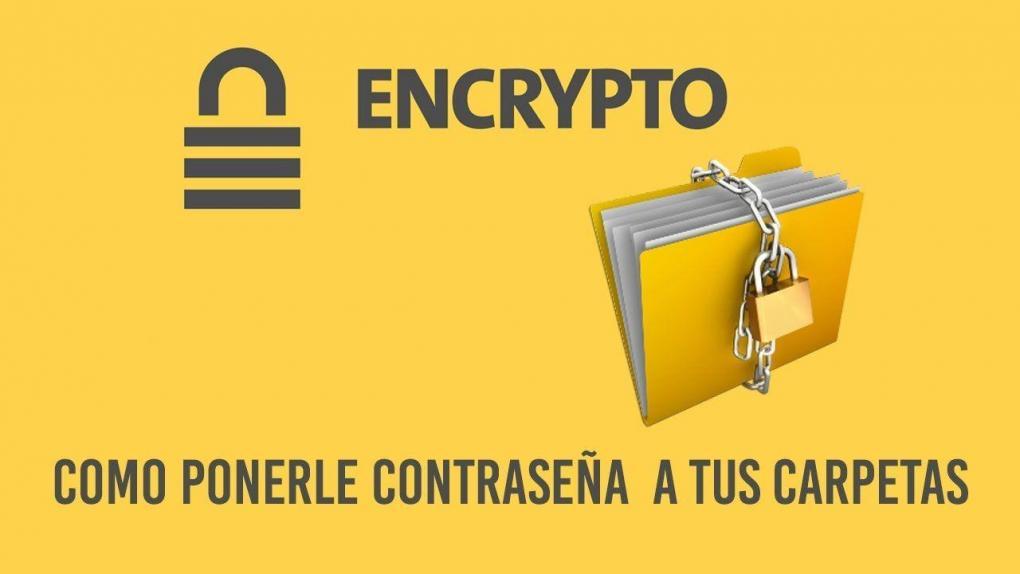
Welcome to another new post. This time, I come to show you how you can put a password to a folder in Windows, without the need to have ANY PROGRAM, or anything like that. Thus, they will not be able to see your content and you will have everything safe. Without further ado, let's get started!
How to password a folder in Windows
In order to successfully hide the folder, please do the following steps:
1- Open the Windows Notepad.
2- Copy the following code that I leave you (you will go to my link shortener, and from there, to the text).
3- Paste it in the Notepad.
4- Now, locate the text «CHANGE-THIS-TEXT-TO-YOUR-PASSWORD«, And replace it with the password you want to enter.
4- Now, you are going to save that file with the extension «.bat«, Instead of the extension«.txt«.
5- Open it. You will notice that it will create a folder called "Protected Folder". Put all your files that you want to hide inside it.
6- You will notice that it does not have a password. Well, run the program again. It will ask you if you want to hide it. Hit the "s", and hit Enter.
7- You will see that the folder will be hidden. How do I show it again? Simple: reopen the program. It will ask you to enter the password to see it again. When you do, the folder will reappear. READY!
How to change the name of «Protected Folder» to something else?
To change the name, find the name "Protected Folder", and replace all those fields with another name. DO NOT PLACE ACCENTS OR SPACES AS ANOTHER NAME.
You can see our most recent posts on our page start from the blog. Like us on our Facebook page so you don't miss any news. GOOD MORNING AND GREETINGS FROM OUR TEAM!