This time we wanted to bring you interesting and productive content about how to capture screen in Windows using a Mac computer. Come in and take a look at the step by step. ENTERS!
WE START:
Welcome to this post.
There are countless people who, for some reason or another, find it necessary to install and use the Windows operating system on their Mac computers; and this is achieved if a Boot Camp is installed on the Mac.
However, contrary to what happens when using any other computer, the take screenshots on a Mac, it can be somewhat complicated. What some users do is use the Windows Snipping application, but there are other keyboard shortcuts that can help you to capture a screen on Windows using a Mac. Let's see how you can do it.
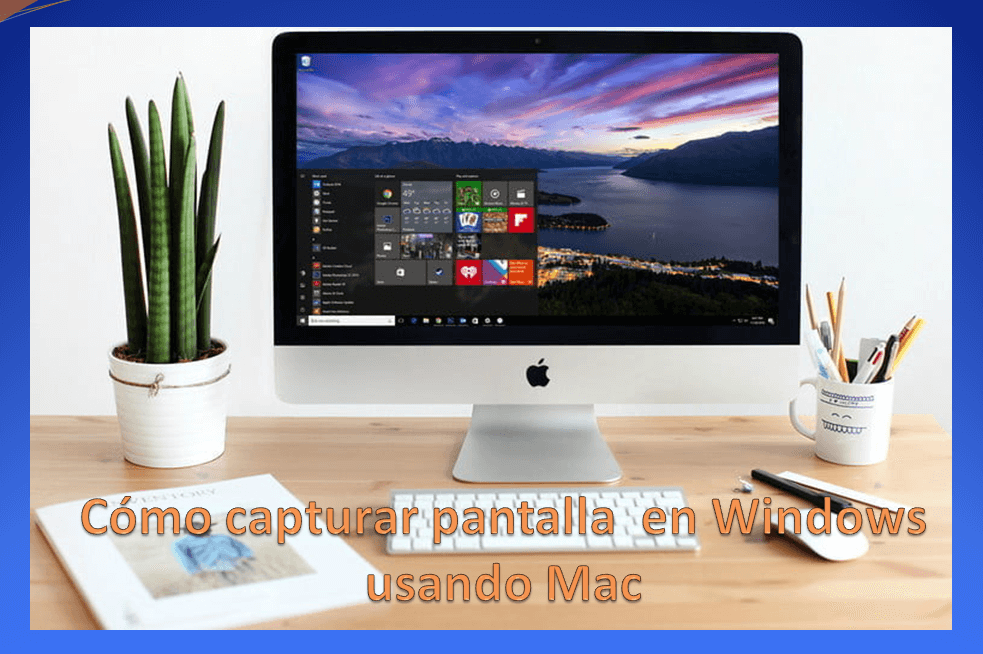
Capture screen in Windows using a Mac computer
It is well known that on Mac keyboards that particular "print screen" key that allows you to take screenshots is not available, as is the case with conventional keyboards. However, this does not mean that they cannot be make screenshots, all you have to do is carry out a keyboard shortcut and voila. Let us begin!
- If you want to capture the full screen on Windows using a Mac, you must press the following keys: Function (fn) + Shift (uppercase) + F11.

- On the contrary, if you want to capture only a portion of the screen you must press the following keys: Option (alt) + Function (fn) + F11.
Once you do either of the two actions, the capture will be saved to the clipboard; so you will have to go to any image editor, either Paint or Photoshop and paste it there. Then proceed to save it and that's it.
With these simple tricks or shortcuts you will achieve the task of capture screen on Windows using a Mac. It only remains for you to learn the combination of commands.
Until next content. Although we do not want to say goodbye without first recommending two of our posts that, surely, will also be very helpful:
We read each other.