In this post we will teach you how to make the Drawing effect, or also known Scribble in the Adobe After Effects program, explained step by step. ENTERS!
WE START:
Welcome to another new post on my blog. A couple of days ago I listened to Ozuna's song called «Follow Him Dancing», and in that video clip, makes some curious effects that are white. I leave you the video so you can see what they are:
Well, I started to investigate and today I will show you how you can do these types of effects. Sure, they will not be as professional and long as the ones in the previous video, but they are VERY similar and just as incredible, that I can assure you. Well, without more to say, let's go!
How to make the Drawing / Scribble effect in After Effects [Well Explained]
1.- First things first: open Adobe After Effects and have your video clip ready:

2.- We are going to need the paint function and the brushes. If they did not appear on the right side of your screen. Just go to "Window" and activate both functions:
3.- Now, take a type of brush that you want. In this example, I have taken the 9 pixel one:
4.- Now, in the «Paint» section, we are going to select the white color. Click on the boxes to the right of the "Opacity" and "Flow" options, and choose white:
5.- Excellent, now, in the «Duration» section, instead of having the «Constant» option, we will change it to «One frame». This is so that in each frame we are drawing a part until the effect remains at 100%.
6.- Now, in the upper tools, we are going to take the one that says «Brush»:
7.- Then, above the video (where it shows the preview), double-click, and as you do, instead of the traditional mouse, you will be replaced by this curious little circle:
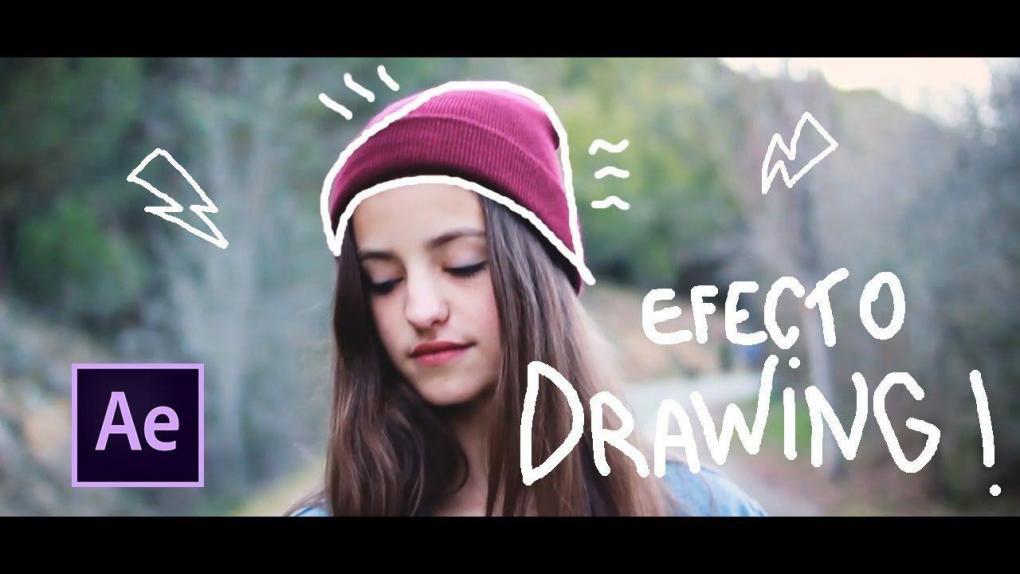
8.- Good. The idea in this example is to make the drawing effect that I rolled the hat of the girl you see in the previous image. To do this, we will do it frame by frame. How is that? Well, as follows:
First, we draw a not so long line. This will be drawn in the first frame. In this example, we leave the line up to that part of the hat.
9.- Next, click on «Next frame», as shown below:
10.- Very good. You will see that your line that you made earlier was "erased". It didn't really, we just switched frames. We start over, only this time, we make the longest line:
11.- It is necessary to emphasize that it does not have to be perfect, just try to go through the same place where you passed the brush in the previous frame. And we return to step 9, that is, we click on «Next frame».
12.- In our example of our next frame, we now draw the line up to here:
13.- We click on «Next frame» again, and now, longer:
14.- Again, «Next frame», and now longer:
15.- And so on until everything is complete:
16.- Now, the last step, repeat it about 4 times, that is, completely pass the brush over the entire drawing. This is so that the drawing effect is highlighted when drawing the result, you will see.
17.- Now, click to play, and see the magic!
Result of this example:
I hope this tutorial has been very helpful for you. If you liked it, I invite you to see more tech tutorials Similar. Our blog is full of quality content. Thanks for stopping by! Until another post.