In this post we will teach you how to completely remove white background from any image, without the use of any program. ENTERS!
WE START:
Welcome to another post. It is normal that when we make a logo on online pages, or simply download an image, it contains a blank background, and for our needs, we want it not to contain that annoying white background, right? Well, this is why you are here, and today you will learn ...
How to remove white background from an image without programs
Yes, that's right, we will not require the use of any computer program. The only thing you will have to have is your image ready on your computer to edit. When that happens, do the following steps:
1.- Enter the tool online editing for this tutorial.
2.- Click on the first button, which is called «CREATE A NEW IMAGE».
3.- Now, in the "Name" section, give a name to your new image, and in the "Pre-established" section, select an approximate dimension to your image.
4.- Check the box called "Transparent", and then click on "OK".
5.- Now, what we will do is open the image. To do this, locate the "File" section (upper left), and click on "Open image".
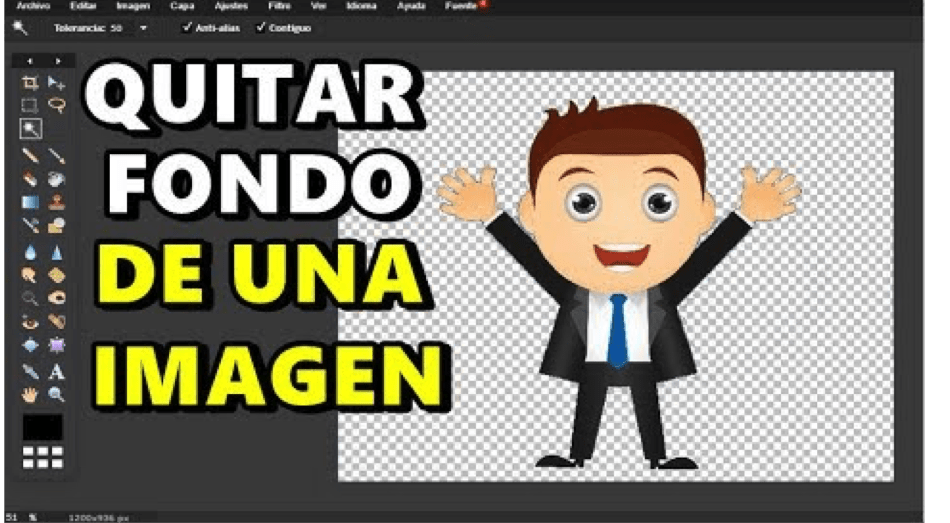
6.- Double click on your image, and when it has been opened, locate the «Wand» in the tools section:

7.- Now, click on the white background, you will see that sections of your image will be selected. Next, right-click and click on "Invert Selection". As you will see, only your image will be selected without the white background.
8.- Now, click on the «Edit» menu (upper part of the editor) and click «Copy».
9.- As you will see, when you opened the image, it opened in another new tab in the editor, leaving the image that you initially created in the background. Select the other tab, then go to the "Edit" menu, and click "Paste." The result is as follows:
10.- Now, what remains is only to save the image. Click on "File", and click on "Save."
11.- A window will open for you. In the "Format" section, display it and instead of JPG, change it to PNG.
12.- Ready, now click on «OK», and save it. Transparent image to 100% ready!
I hope you liked this article. I invite you to read more interesting tutorials, or in the same way if you want, more web tools like the one you just used. Until another post!