In this post we will teach you how to root Android with iRoot, program compatible with more than 8,000 cell phones to make this task easy. ENTERS!
WE START:
Do you want to root Android? Well, first you have to have your reasons, right? If so, skip the instructions, but if you don't know, we'll paint the picture for you:
Article index
What is being a root user?
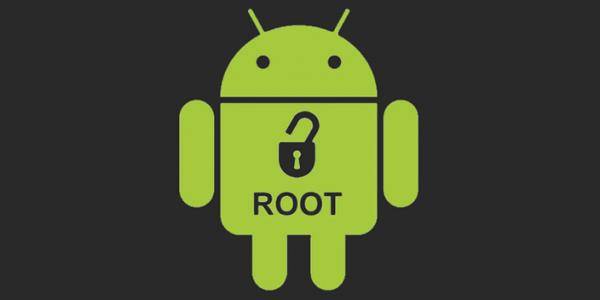
Being a root user, it means that you will be unlocking all the privileges that the system has.
Telephones, by default (and also for security reasons), block certain system functions so that users do not do something improper, or spoil their system.
When you root your device, you automatically have full control of it. So if you want to root, you must be very clear about your intentions, and know well what you will do.
And now how can I root Android with iRoot?
To root your Android you must follow these simple steps:
1.- You must download iRoot to your computer (go to Official site for download).
2.- You must install the program on your computer.
3.- Go to your Android to activate the compilation numbers (Click many times on that option [the path is: Settings / Phone information / Build number])
4.- Then we have to activate the phone's developer options (go to "Settings / Development options" and activate it).
5.- After that, we have to activate USB duperation, which is in the same development options section (path: Settings / Development options / USB duperation).
6.- Connect your device to the computer, then open the iRoot program (it is the one you installed) and wait for it to be recognized.
7.- It will install predetermined apps to complete the Root process, all we have to do here is wait for the «Root» button to appear on our computer screen.
8.- Once we press that button, it will start the final process to root the phone; It will restart and when it turns on it will be completely rooted.
9.- Ready, you have just rooted Android.
Video: how to root Android with iRoot
- App Cool: it is an application to install Apps.
- KingRoot: is the application to access root permissions.
- OneLocker: it is like an antivirus.
- OneCleaner - is a junk file phone cleaner.
I kept App Cool and KingRoot, the others I uninstalled.
Before concluding the post, I would like to tell you that ...WE LOVE talking about Android! Head over to our blog, you will surely find something you like.
In the same way, we will more interesting tutorials technology for our audience.
Were you able to root Android with iRoot? Leave your opinion in the comments!
Until another post delivery! See you.